| View unanswered posts | View active topics |
It is currently Thu Apr 18, 2024 12:32 pm |
|
All times are UTC - 5 hours |
|
|
Page 2 of 4 |
[ 34 posts ] | Go to page Previous 1, 2, 3, 4 Next |
| Print view | Previous topic | Next topic |
Bill's Supercharged TJ Build
| Author | Message |
|---|---|
|
JT4x4 Joined: Mon Dec 26, 2011 1:32 pm Posts: 30 |
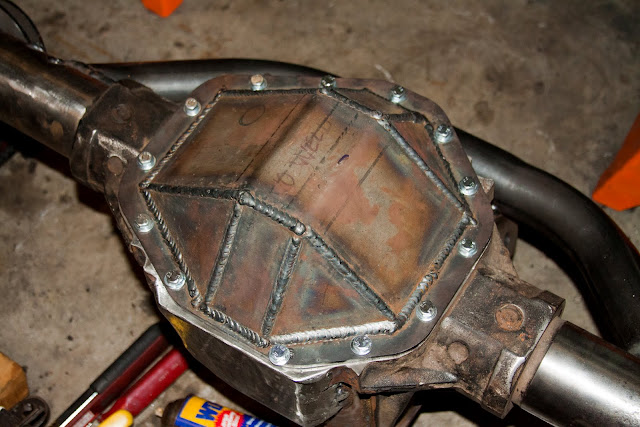
Rear Axle ready for paint. It came a heck of a long way from a broken 14 bolt rusting away to here.
     |
| Fri Dec 30, 2011 12:30 am |
|
|
JT4x4 Joined: Mon Dec 26, 2011 1:32 pm Posts: 30 |
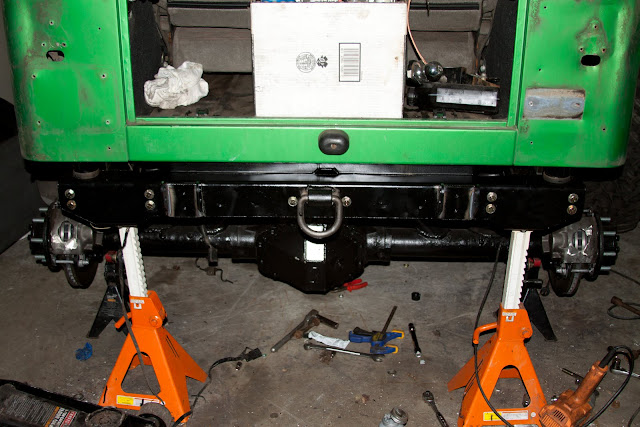
Rear axle and suspension complete:
Its not sitting at ride height. I have it on stands to keep it more stable with stands on the axle and frame while finishing up the rest. I did cycle it though and it all worked great.  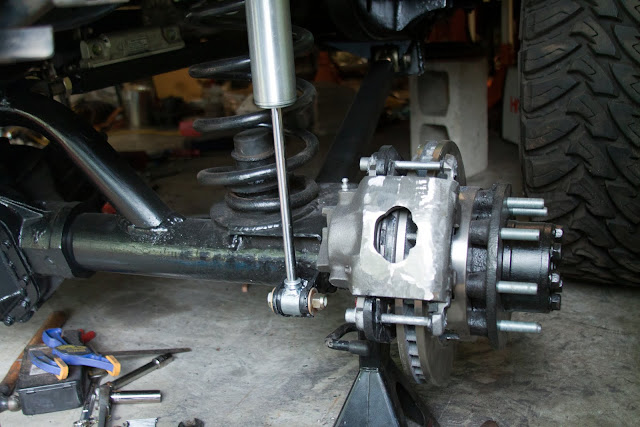 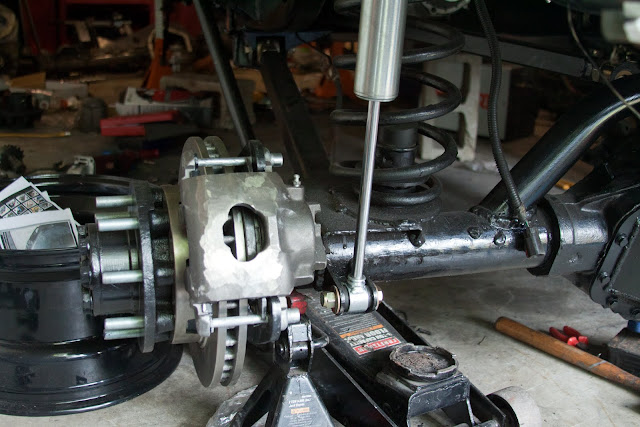  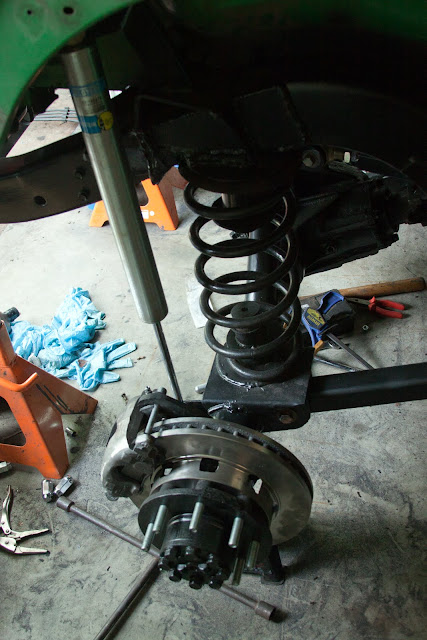 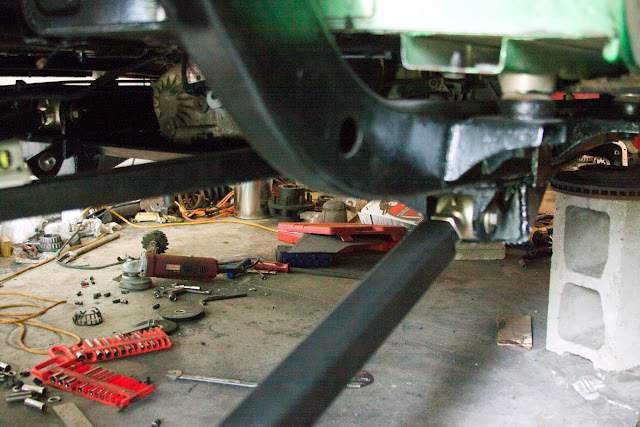 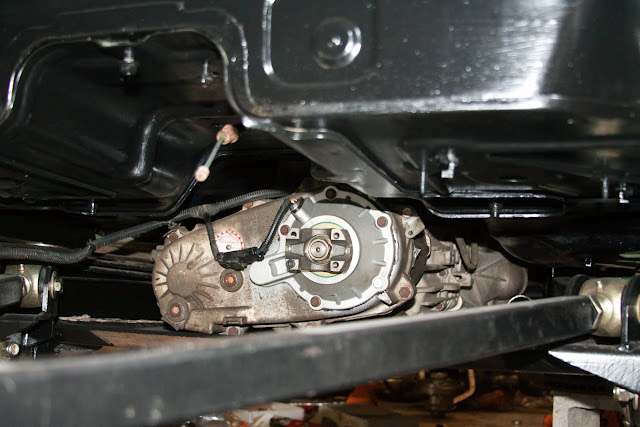  |
| Fri Dec 30, 2011 12:31 am |
|
|
JT4x4 Joined: Mon Dec 26, 2011 1:32 pm Posts: 30 |
Here are some of the new rear Genright bumper and fuel cell. The bumper will eventually have a flip down tire carrier mounted to it. I liked how it came together and how it ties into the frame. It also has additional support on the back of the cross member.
  The fuel cell is awsome.  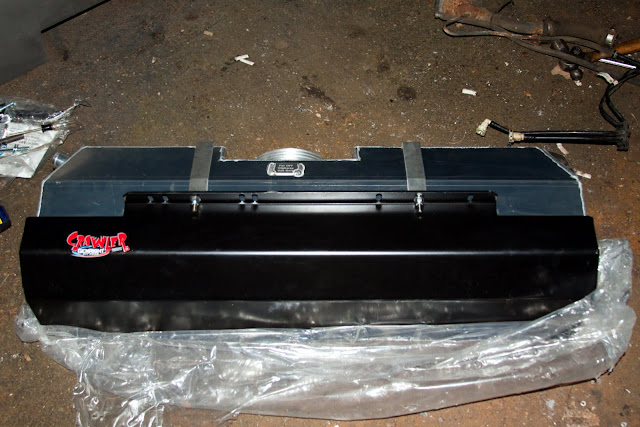  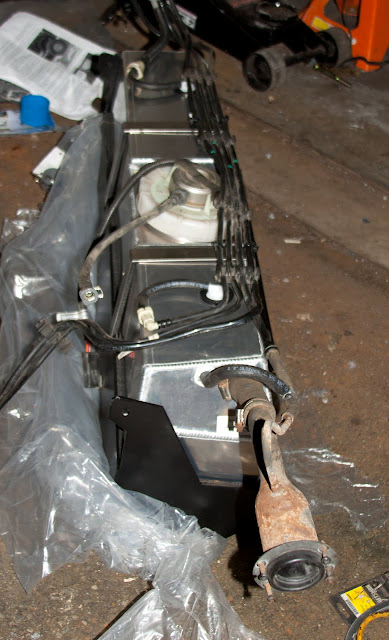 |
| Fri Dec 30, 2011 12:31 am |
|
|
JT4x4 Joined: Mon Dec 26, 2011 1:32 pm Posts: 30 |
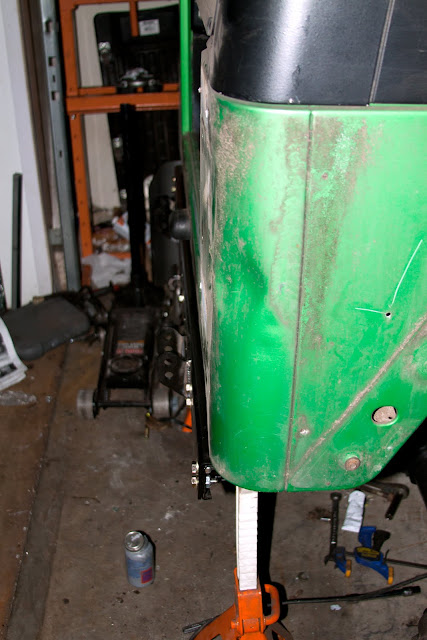
Here are a few more of the rear suspension with the belly skid and trans mount installed:
  These next few were during the start of the front locker and gear install: 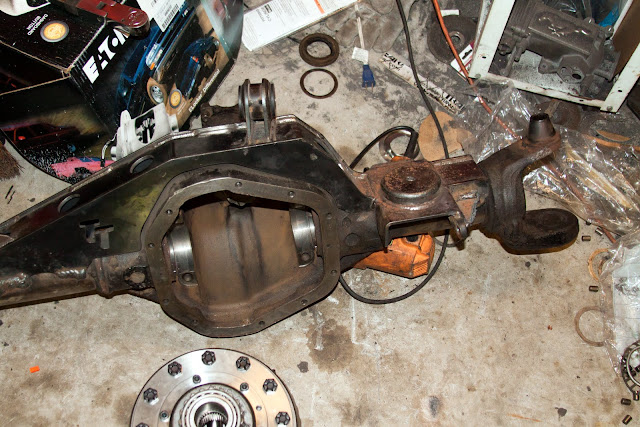  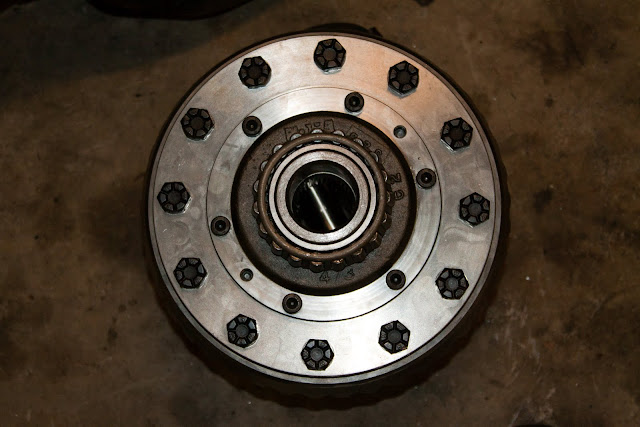 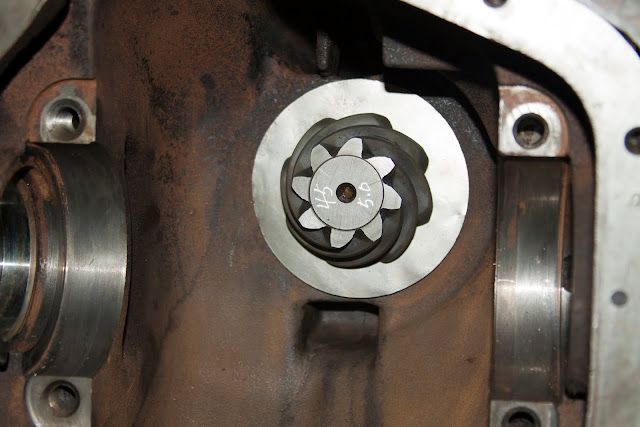 |
| Fri Dec 30, 2011 12:32 am |
|
|
JT4x4 Joined: Mon Dec 26, 2011 1:32 pm Posts: 30 |
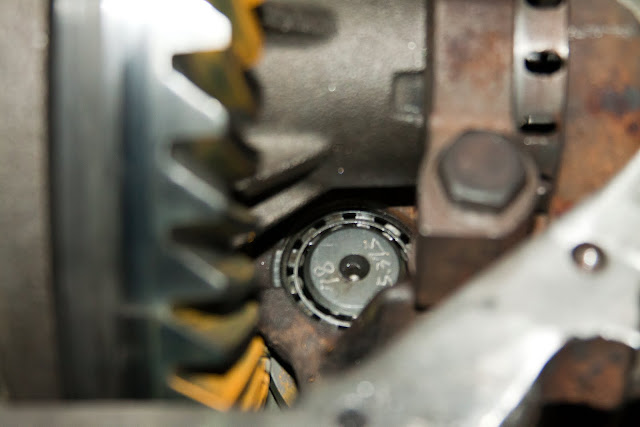
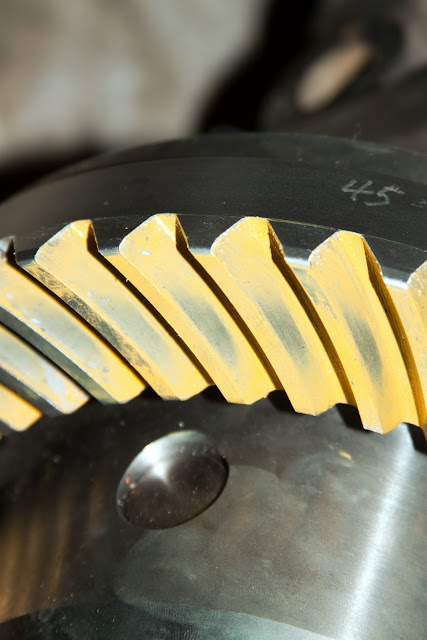
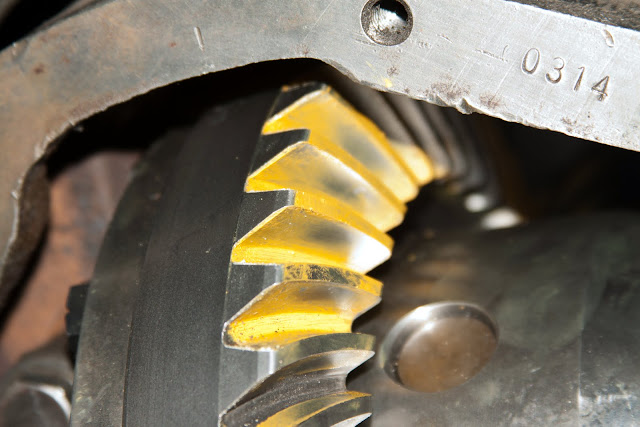
Here are a few of the first inital contact pattern after calculating my starting shim stacks:
  I got that far on the install and said "screw it, I'm buying some new toys": 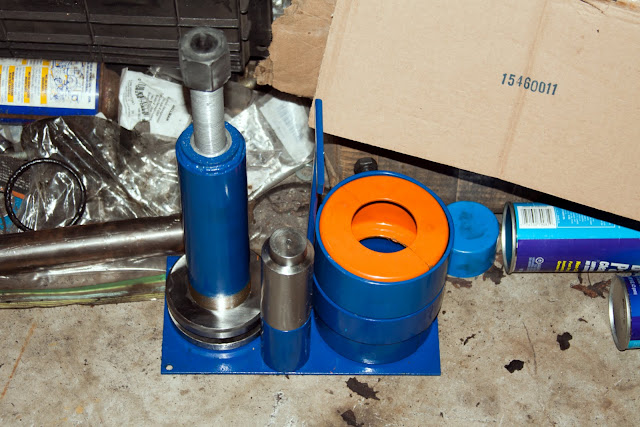 The install was extremely easy after that. These are of the second contact pattern after increasing pinion depth: 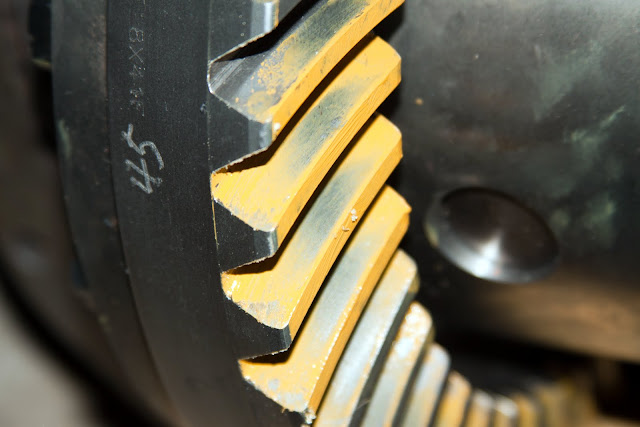 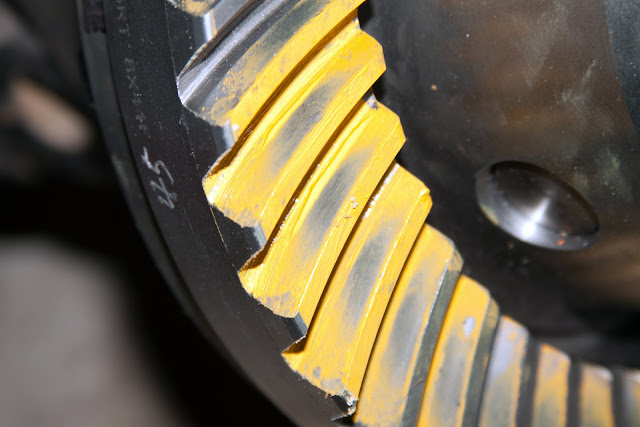 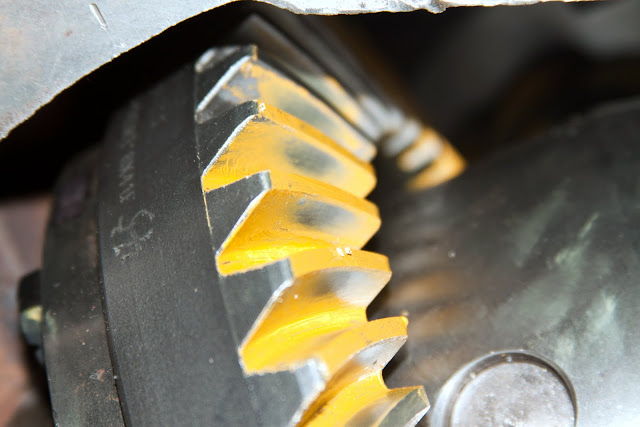 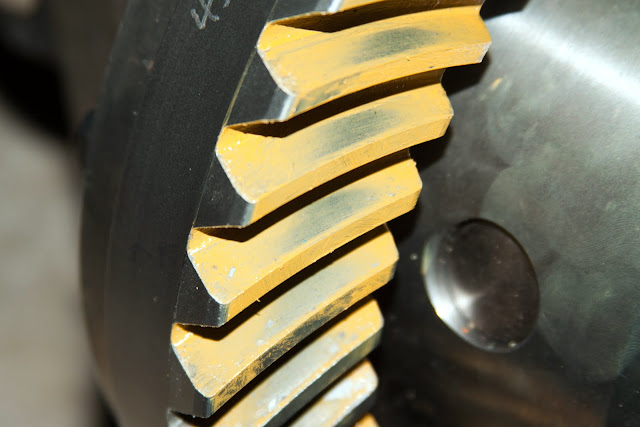 |
| Fri Dec 30, 2011 12:33 am |
|
|
JT4x4 Joined: Mon Dec 26, 2011 1:32 pm Posts: 30 |
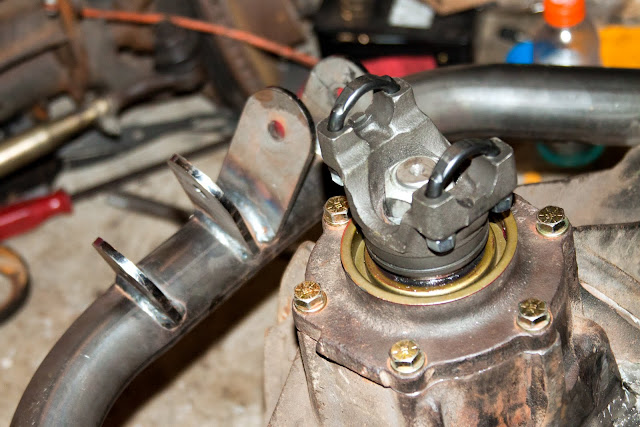
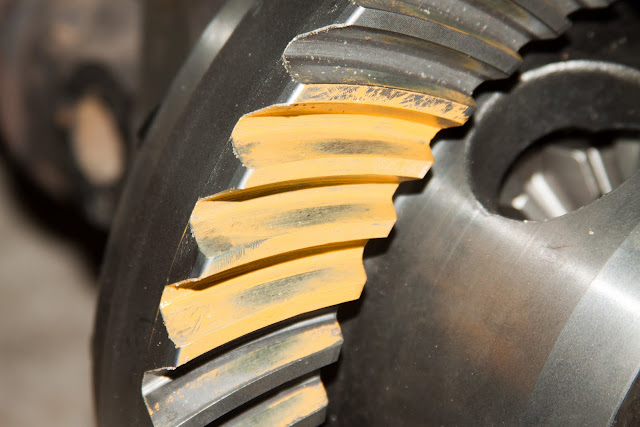
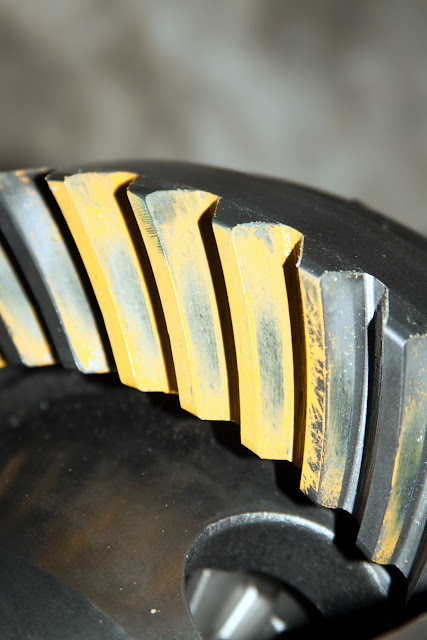
These are the third adjustment (still using set up bearings). Increased pinion depth a little more and fine tuned the backlash:
  Finally, I installed the new good bearings on the carrier and pinion along with the new inner race. Here is my final contact pattern:  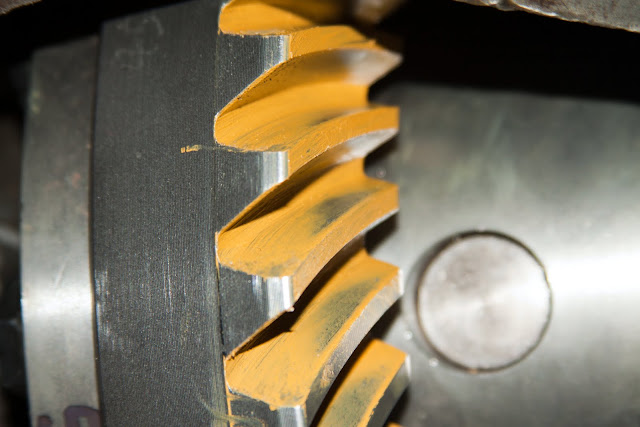 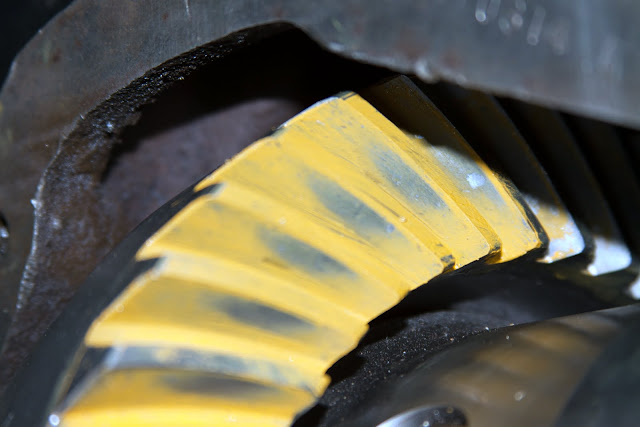 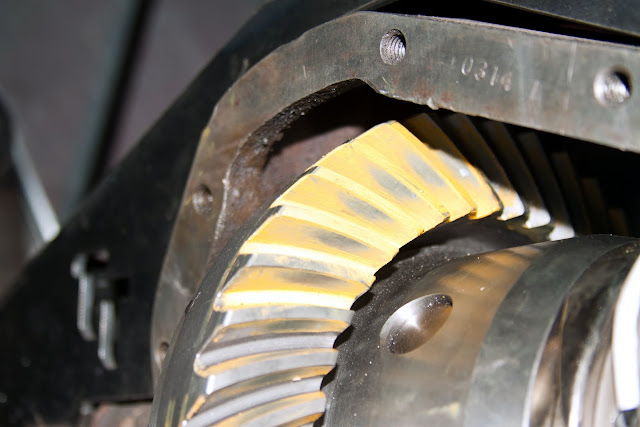 I'm very happy with the results. The pictures don't really show the contact pattern very well, but it is good. The wires for the locker are installed and through the differental housing as well. Final Backlash is 0.006" with 0.010" to 0.012" of carrier bearing preload. Pinion bearing preload ended up at 28 in/lbs. |
| Fri Dec 30, 2011 12:33 am |
|
|
JT4x4 Joined: Mon Dec 26, 2011 1:32 pm Posts: 30 |
From there, I did a TON of painting. The entire underbody and frame has been prepped and painted with Cassis Saver paint.
After that, I installed the front axle. The springs are in there for now, but will have to come back out one more time before its all said and done. Some day, I'll replace the knuckes with some the better Reid ones, but I already have all new brakes and bearings for the Ford stuff, so I'm not switching them now. 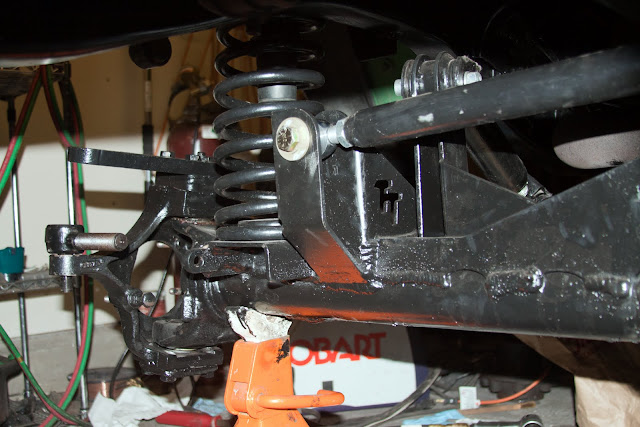 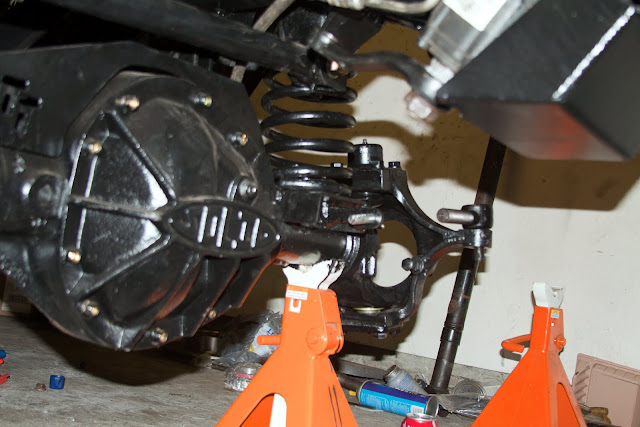  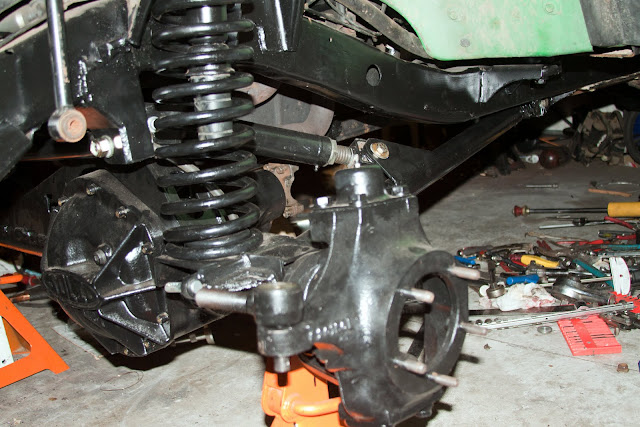 This one is of the engine skid I build. 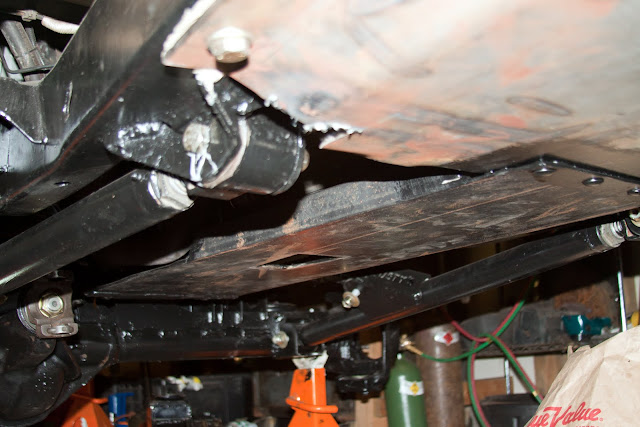 And here is one of the wires for the locker and where I drilled the differental to run them through.  |
| Fri Dec 30, 2011 12:35 am |
|
|
JT4x4 Joined: Mon Dec 26, 2011 1:32 pm Posts: 30 |
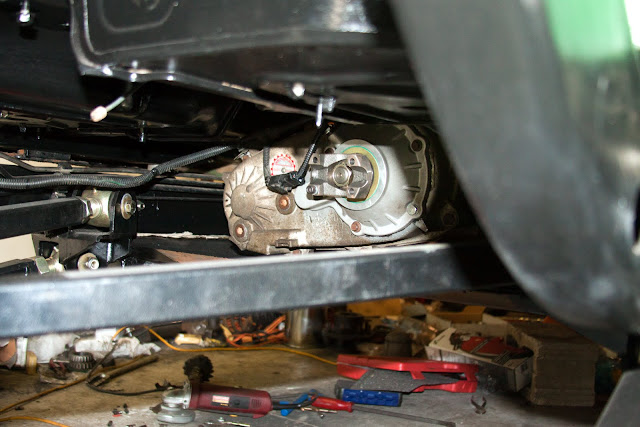
Pulled the driver's front fender, shortened the steering shaft, installed the new steering box, and mocked up the drag link and tie rod.
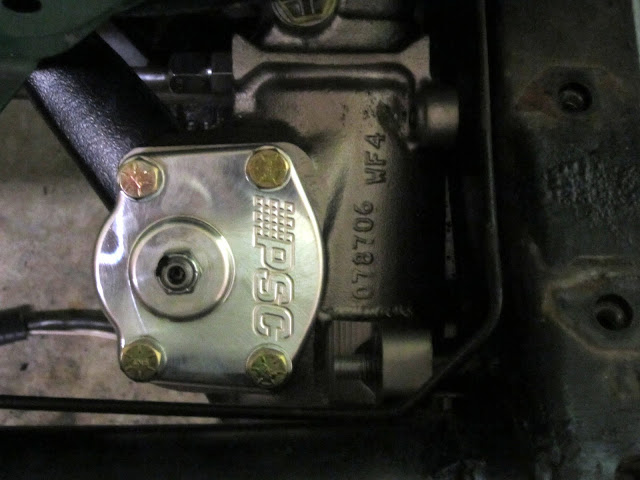 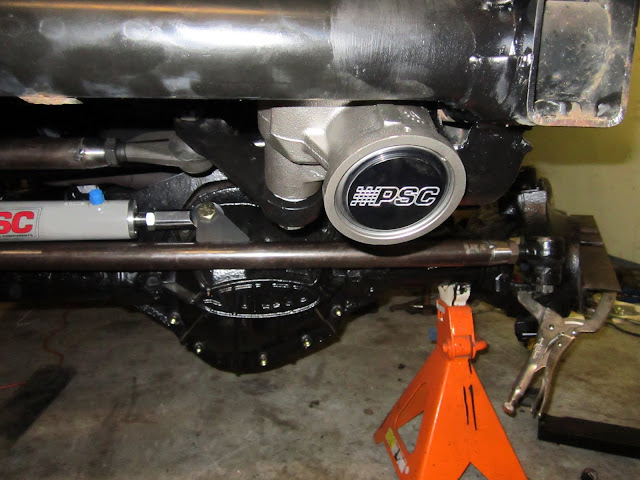  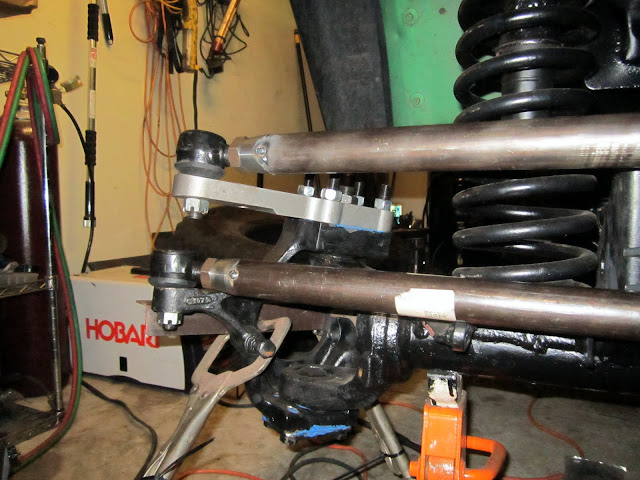 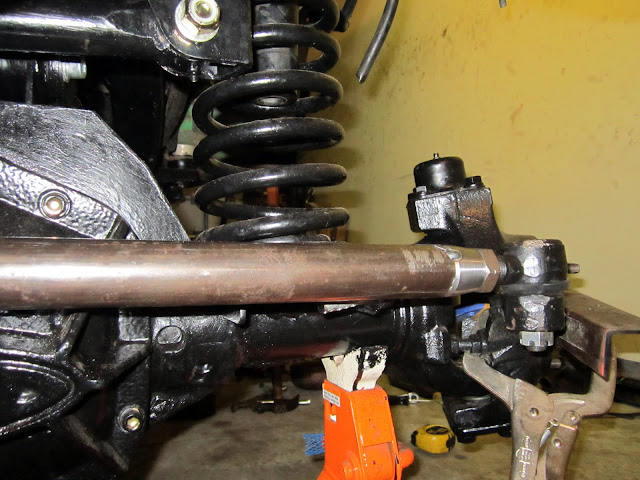 I am happy now. Full lock to lock turning. Here is an idea of what the finished product will look like. 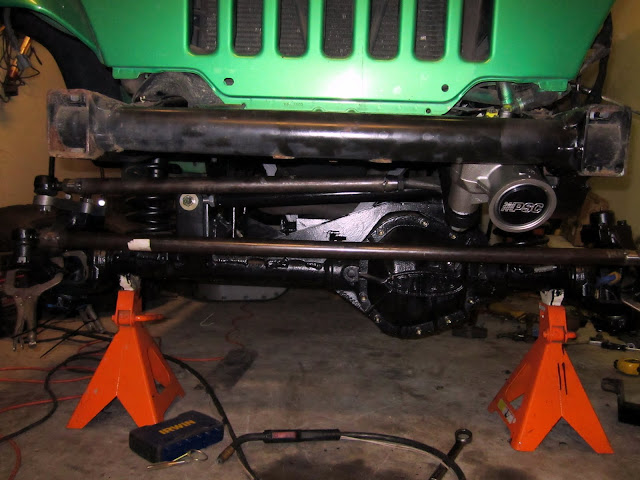 However, I did have a few problems I thought I was going to be able to avoid. First, the longer flat pitman arm I need to get full lock to lock turning hits the lower radiator connection. I was hoping with my body lift it would clear, but as you can see it does not. 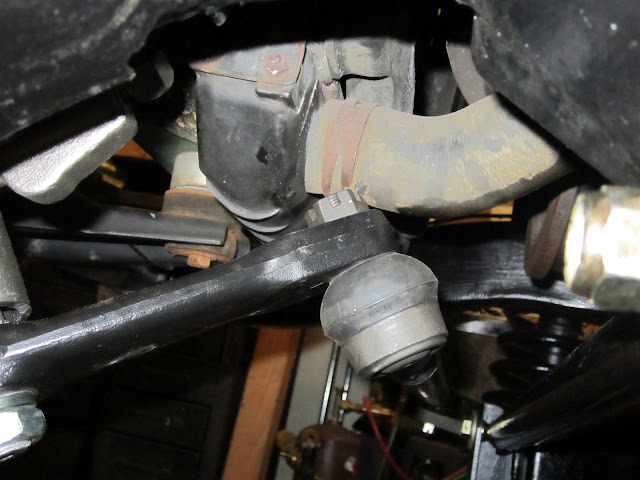 I am going to raise the radiator slightly, maybe 3/4" to 1" or so. That will allow everything to clear. Next problem is with the tie rod itself, or I guess its actually a problem with the knuckles that effects the tie rod ends. To flip the tie rod to the top of the knuckle, I ordered tapered bushings from Parts Mike. The idea is you drill the knuckle with a 7/8" drill bit, insert the bushing, and tighten the rod end down thereby sandwiching the bushing out to hold it in place. Anyways, when installed and tighened down my rod ends are tight against the top of the knuckle. Here is a close up of what I'm talking about.  This is what it should look like installed and torqued:  Notice the difference in the gap from the bottom of the tie rod to the mounting surface. In the first picture there is NO flex in the joint because its bottomed out. In the second, it moves just like it should. I fixed this using Chevy 7/8" drag link rod ends, Part number ES2026R and ES2027L. These rod ends have a longer taper on them and allow for more flex. If you look close at my drag link, I am already using one of them on the pitman arm end of the link. An additional note: I understand the track bar and drag link angles are slightly off from each other and it is going to stay that way. Yes, there is probably something I could do by putting a bend in the track bar to get them equal or by altering the mounting points of the track bar, but I don't care that much. I'm not worried about bump steer on this rig. Its not going to see much, if any street time. Also, being that I am building it low lift on 1 ton axles, there isn't much room in there to move things around much anyways. It is as close as I could get it to equal without bending the track bar or going to a different style steering set up. I wanted crossover steering, so this is how it will be. This just about brings the build up to date. There is more done, but I have to take more pictures first. Sorry for the massive picture overload. I'll update this thread more as I update the JT4x4 forum from now on. |
| Fri Dec 30, 2011 12:38 am |
|
|
LIOR Joined: Mon Oct 05, 2009 9:08 pm Posts: 755 |
I'm not going to let my rig see this. You know how jealous they get.
Awesome build  _________________ Bob Blair NOVA4x4 Communications Officer, Long Island Off Road Club Webmaster, LIOR Membership Chairman The Howler a 1948 Willys pickup / Scout II hybrid http://liorclub.org/Members/bob.htm |
| Sat Dec 31, 2011 5:57 pm |
|
|
LIOR  Joined: Wed Oct 07, 2009 6:02 pm Posts: 51 Location: Suffolk County, NY |
Is it ok to get turned on by stuff like this?!?
Very nice! _________________ 2008 Jeep Wrangler X 2DR With mods... |
| Sun Jan 01, 2012 8:28 am |
|
|
|
Page 2 of 4 |
[ 34 posts ] | Go to page Previous 1, 2, 3, 4 Next |
|
All times are UTC - 5 hours |
Who is online |
Users browsing this forum: No registered users and 1 guest |
| You cannot post new topics in this forum You cannot reply to topics in this forum You cannot edit your posts in this forum You cannot delete your posts in this forum You cannot post attachments in this forum |